Best Seasons for Chimney Tuckpointing
Chimney tuckpointing is most effective during mild weather conditions. Optimal timing typically falls in the late spring and early fall when temperatures are moderate, avoiding extreme cold or heat. These periods allow for proper curing and adhesion of mortar without the risk of rapid drying or freezing.
Tuckpointing should be performed when temperatures are between 40°F and 70°F to ensure mortar cures properly and bonds effectively.
Avoid work during rain or high humidity, as moisture can interfere with mortar setting and lead to potential damage.
Spring and fall are preferred seasons due to stable weather conditions, reducing the risk of frost or extreme heat affecting the process.
Consistent temperatures help prevent mortar cracking or improper curing, which can occur with rapid temperature changes.
Spring offers moderate temperatures ideal for tuckpointing projects.

Fall provides stable weather conditions suitable for tuckpointing work.
Choosing the right weather minimizes risks and ensures quality results.
Ways to make Chimney Tuckpointings work in tight or awkward layouts.
Popular materials for Chimney Tuckpointings and why they hold up over time.
Simple add-ons that improve Chimney Tuckpointings without blowing the budget.
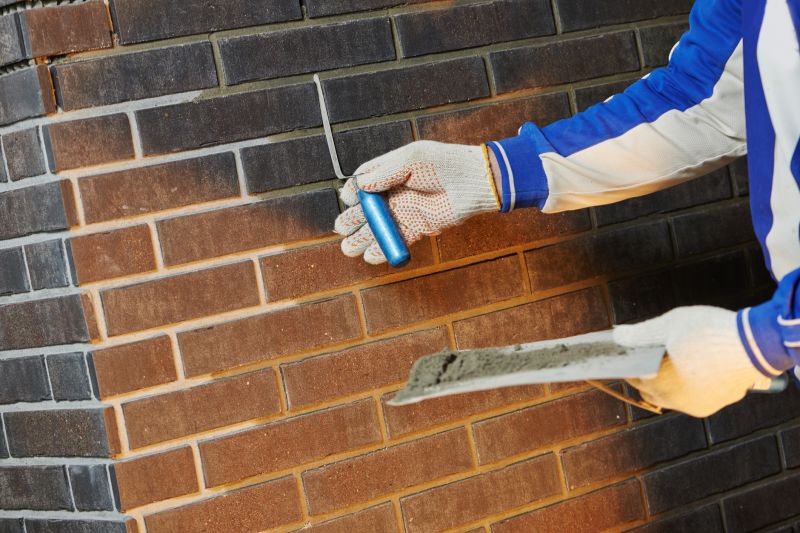
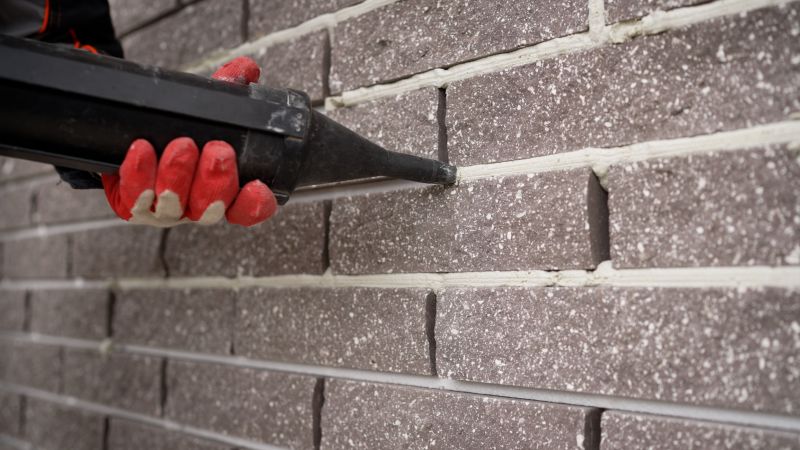
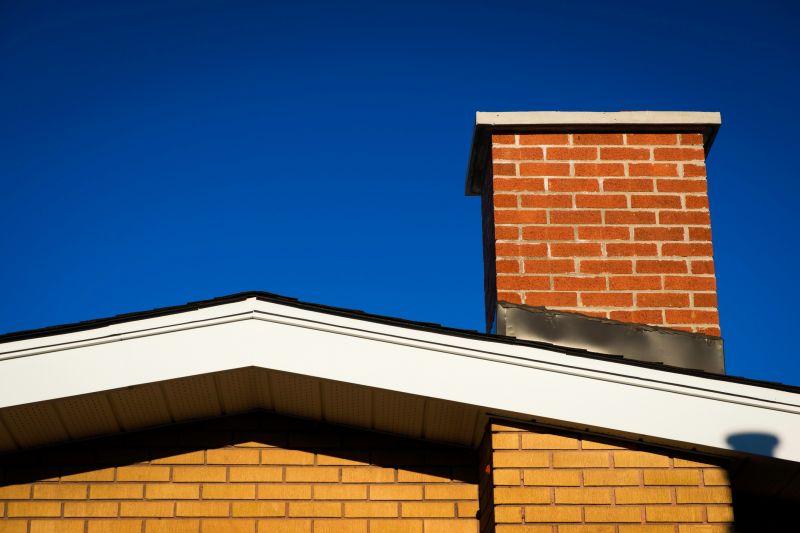
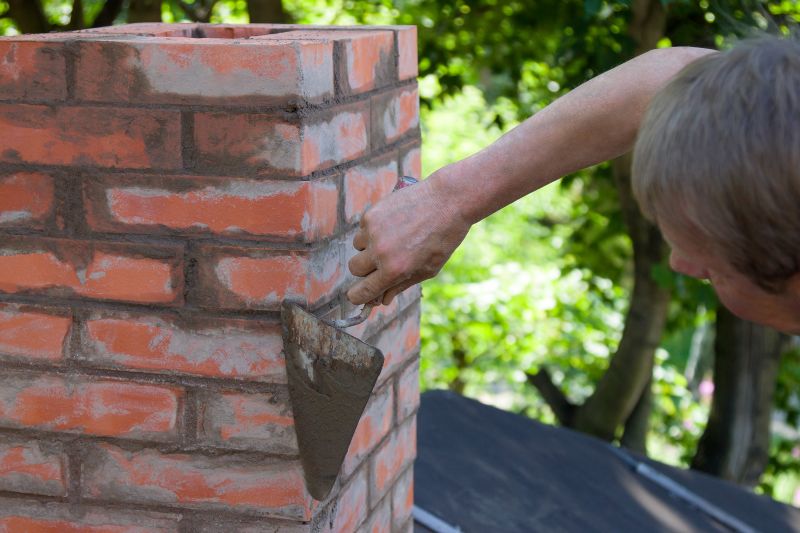
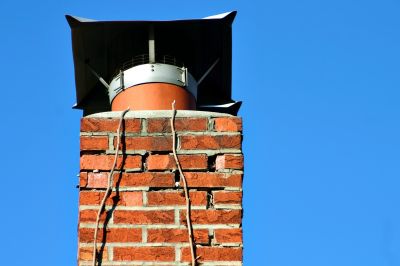
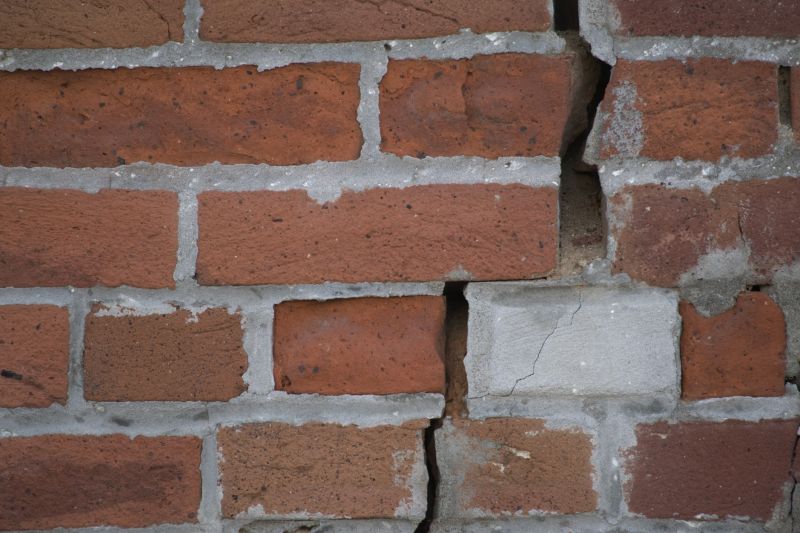
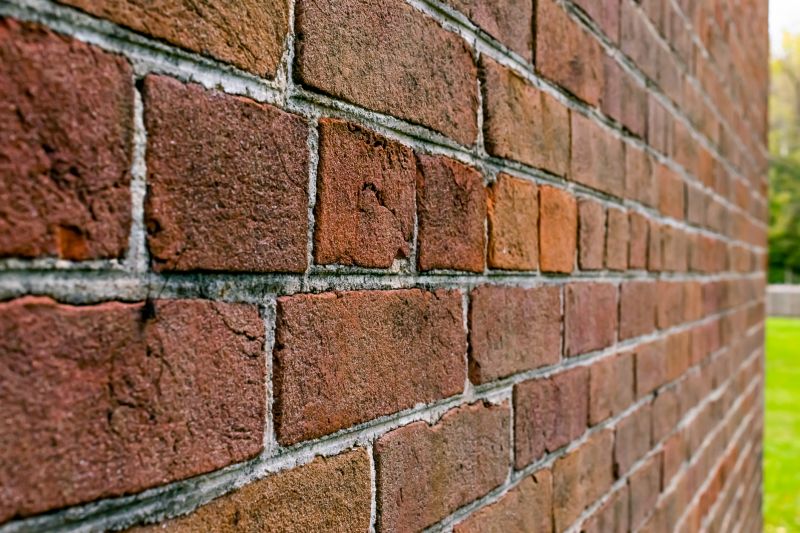
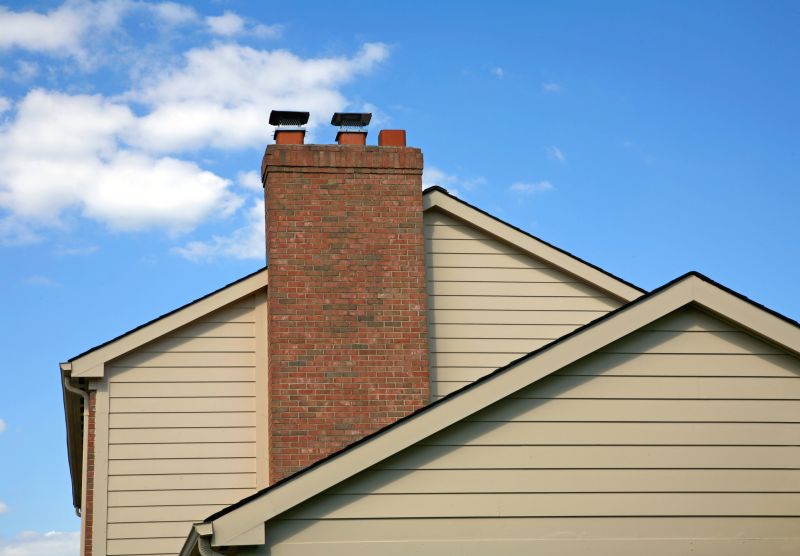
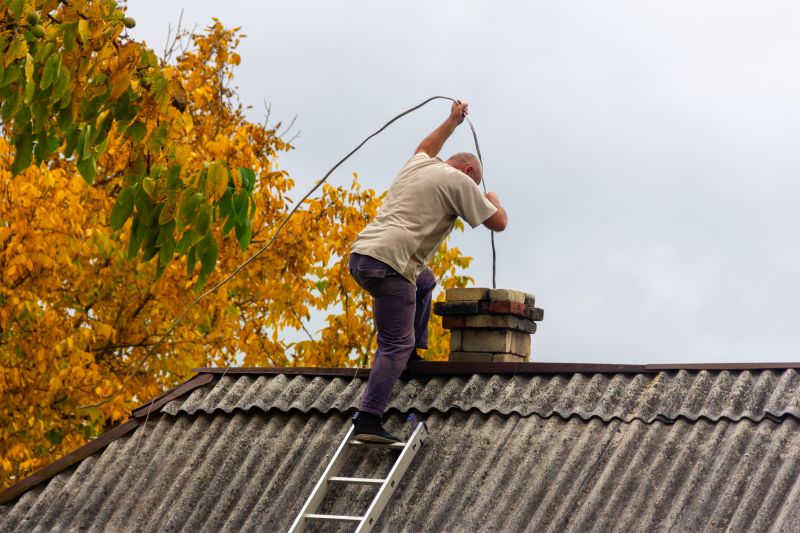
Chimney tuckpointing involves repairing the mortar joints of a chimney to restore its structural integrity and appearance. Proper timing ensures that the mortar bonds correctly and withstands environmental stresses. The process typically includes removing damaged mortar, cleaning the joints, and applying new mortar that matches the original in composition and color.
Statistics indicate that performing tuckpointing every 20 to 30 years can significantly extend the lifespan of a chimney. Proper maintenance during optimal weather conditions helps prevent costly repairs and enhances safety by maintaining the chimney's stability.
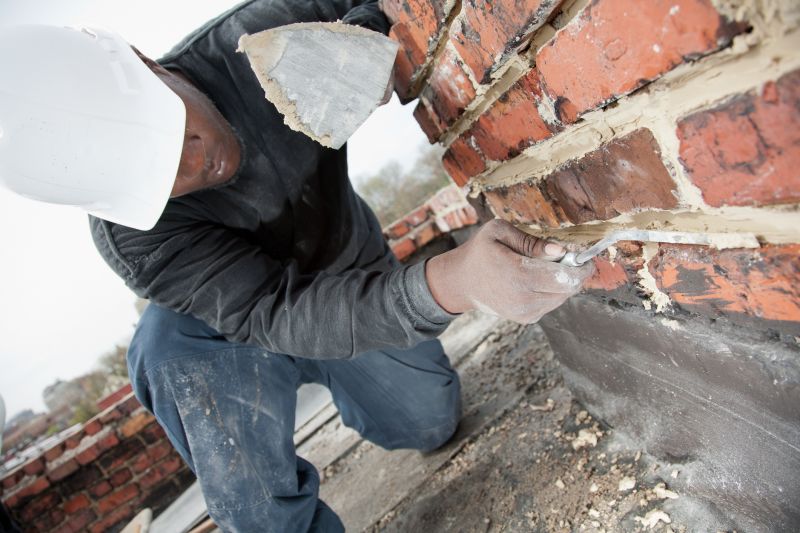
Step-by-step procedure for effective chimney repair.
Visual comparison of chimney restoration.
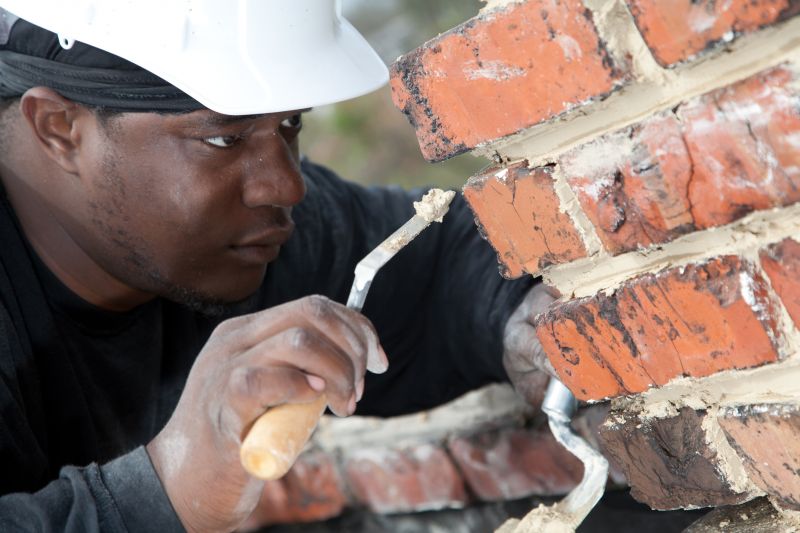
Essential equipment for quality workmanship.
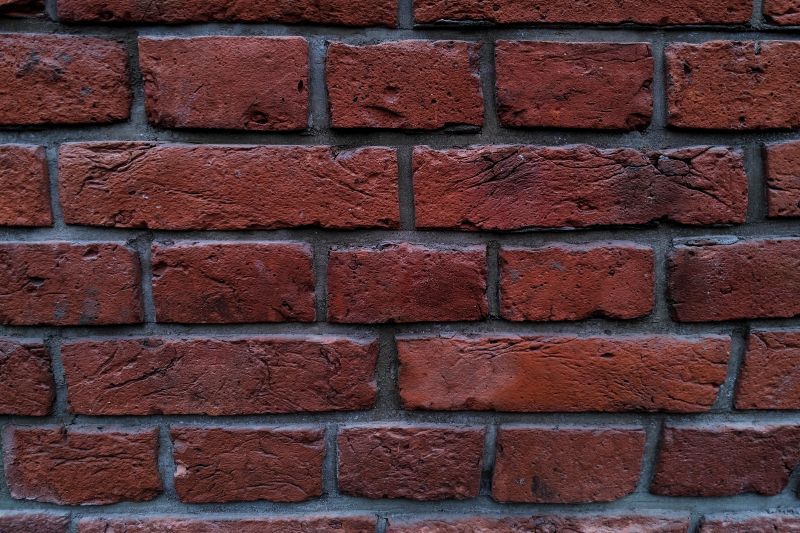
Different mortar types suitable for various conditions.
High-end options that actually feel worth it for Chimney Tuckpointings.
Finishes and colors that play nicely with Chimney Tuckpointings.
Little measurements that prevent headaches on Chimney Tuckpointings day.
A 60-second routine that keeps Chimney Tuckpointings looking new.
| Season | Optimal Conditions |
|---|---|
| Spring | Moderate temperatures, low humidity, dry weather |
| Summer | High temperatures, avoid peak heat hours |
| Fall | Stable weather, cool temperatures |
| Winter | Not recommended due to freezing temperatures |
| Late Spring | Ideal for curing and bonding |
| Early Fall | Optimal for project completion |
Interested in scheduling chimney tuckpointing? Filling out the contact form provides a convenient way to request more information or arrange an assessment during the most suitable season for your location.